
Shatterpoint Assembly is a comprehensive guide for constructing and customizing your Star Wars: Shatterpoint miniatures and terrain․ This step-by-step manual ensures precision and creativity, transforming individual components into a cohesive, battle-ready setup․ Follow along to master the assembly process and elevate your gaming experience․
Overview of Shatterpoint
Shatterpoint is a dynamic miniature wargame set in the Star Wars universe, designed for tactical skirmishes between iconic heroes and villains․ Players engage in fast-paced battles, utilizing unique abilities and strategic positioning to control key objectives․ The game emphasizes precision and creativity, with expandable content through terrain packs and squad expansions․ Its streamlined ruleset allows for shorter gameplay compared to larger-scale miniatures games, making it accessible while maintaining depth․ Shatterpoint combines epic blaster fights and lightsaber duels, offering a thrilling experience for fans of tactical combat and Star Wars lore․
Importance of Proper Assembly
Proper assembly of Shatterpoint components is crucial for both functionality and aesthetics․ Accurate alignment ensures pieces fit seamlessly, maintaining the game’s balance and visual appeal․ Misassembled parts can lead to gameplay errors or structural instability, affecting the overall experience․ Correct assembly also enhances durability, preventing damage during handling or storage․ By following instructions carefully, players ensure their miniatures and terrain perform as intended, creating a polished and immersive tabletop environment․ Attention to detail in assembly elevates gameplay quality and longevity, making it essential for optimal enjoyment of Star Wars: Shatterpoint․

Understanding the Components
Understanding the components involves identifying miniatures, bases, terrain packs, and accessories․ Each part plays a crucial role in building and customizing your Shatterpoint setup for gameplay․
Unboxing and Inventory
Begin by carefully unboxing your Shatterpoint components, ensuring all items are accounted for․ Check for miniatures, bases, terrain packs, and accessories․ Verify the inclusion of range tools and movement tools to supplement gameplay․ Organize parts by type to streamline assembly․ Inspect for damage or missing pieces and contact support if issues arise․ A thorough inventory ensures a smooth assembly process and prevents delays․ Proper organization and preparation are key to building a cohesive and functional setup for your Star Wars: Shatterpoint experience․
Identifying Key Parts
Identifying key parts is crucial for efficient assembly․ Start by examining the components for labels or symbols indicating their purpose․ Miniatures, bases, and terrain pieces are essential, while accessories like range tools and movement tools enhance gameplay․ Separate fragile or detailed parts to avoid damage․ Organize components by type and function to streamline the process․ Refer to the manual for visual guides or descriptions to ensure accurate identification․ Properly identifying and categorizing each part ensures a smooth and organized assembly experience for your Shatterpoint setup․
Preparing the Workspace
Set up a clean, well-lit workspace with essential tools and materials within reach․ Ensure the area is flat and large enough to accommodate all components and instructions․
Setting Up the Assembly Area
Start by clearing a large, flat surface for assembly․ Cover the area with a protective cloth or mat to prevent damage to components․ Ensure good lighting to see small details clearly․ Organize tools like clippers, glue, and paints within easy reach․ Position the instruction manual or digital guide nearby for quick reference․ A well-prepared workspace minimizes distractions and ensures a smooth, efficient assembly process․ This setup is crucial for handling delicate miniatures and terrain pieces effectively, allowing you to focus on precision and creativity․
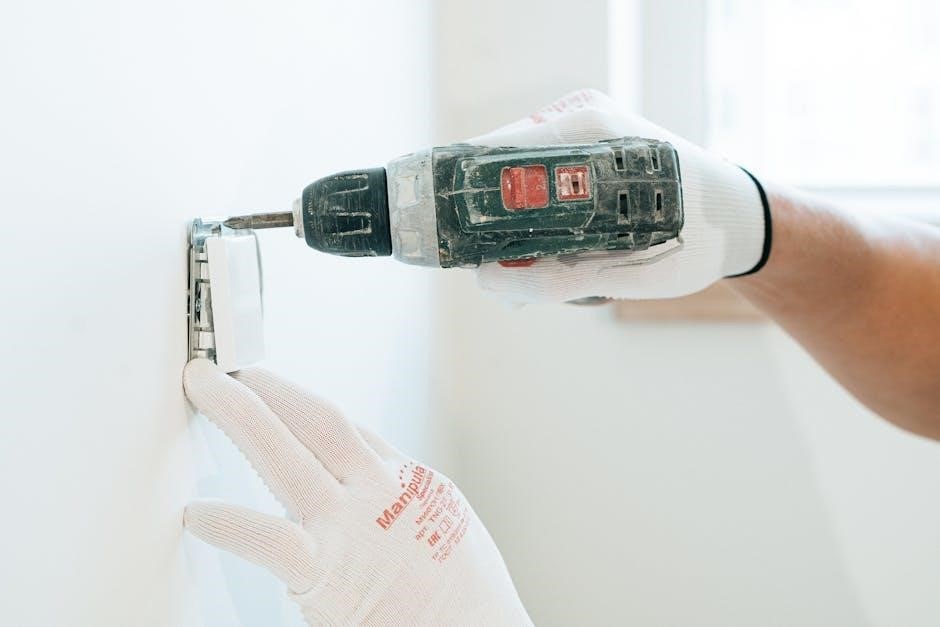
Essential Tools and Materials
Gather essential tools like hobby clippers, plastic glue, fine sandpaper, and paint for customizing miniatures․ A hobby knife and files aid in smoothing rough edges․ Use a work mat to protect your surface and organize small parts․ Paintbrushes and acrylic paints enhance detailing, while a magnifying glass helps with intricate areas․ Optionally, a hairdryer can speed up glue drying․ Ensure all materials are within reach to streamline the assembly process and achieve professional-looking results․ These tools are vital for accurately constructing and customizing your Shatterpoint miniatures and terrain pieces effectively․

Assembling the Base Structure
Begin by constructing the core frame, aligning pieces carefully․ Secure components with glue, ensuring stability․ Follow instructions for attaching support structures to create a solid foundation․
Building the Core Frame
Start by carefully unboxing and organizing the core frame components․ Identify the main structural pieces and align them according to the assembly diagram․ Use a hobby knife or clippers to remove parts from sprues if necessary․ Apply a small amount of plastic glue to secure the frame sections together, ensuring proper alignment for stability․ Allow the glue to set completely before proceeding․ This step forms the foundation of your Shatterpoint assembly, so precision is key to avoid misalignment issues later;
Attaching Support Structures
Once the core frame is assembled, focus on attaching support structures to enhance stability and functionality․ Identify the designated support components from your inventory and align them with the core frame․ Apply a small amount of glue to secure these parts, ensuring they fit snugly without causing misalignment․ Use clamps or hold the pieces firmly until the glue sets․ These structures, such as catwalks or barricades, add thematic depth and ensure the assembly remains sturdy․ Double-check alignment with a level or reference mat before moving on to the next step․

Adding Key Features
Add control panels, accessories, and terrain elements to enhance functionality and aesthetics․ Use glue or adhesives to secure these components, ensuring proper alignment and stability for gameplay․
Installing Control Panels
Begin by preparing the control panel components, ensuring all parts are inventoried․ Locate the designated mounting area on the base structure using the provided alignment guides․ Secure the panel using Allen wrenches or screwdrivers, tightening firmly but avoiding overtightening․ Connect any wiring or attachments as indicated in the instructions․ Apply a small amount of adhesive to reinforce the bond if necessary․ Finally, test the panel’s functionality to ensure proper operation before proceeding with additional installations․
Mounting Accessories
Begin by identifying the accessory components and their designated mounting points on the base structure․ Use clippers or files to trim excess material, ensuring a flush fit․ Apply a small amount of adhesive to the accessory’s base, aligning it with the guide marks; Gently press the accessory into place, holding it steady for a few seconds to secure the bond․ Allow the adhesive to dry completely before handling․ This step enhances both functionality and visual appeal, ensuring your Shatterpoint setup is both durable and aesthetically pleasing․

Advanced Customization
Advanced customization enhances your Shatterpoint setup with expansion packs and terrain packs, allowing for unique battlefield configurations․ These additions enable players to create visually stunning and functionally diverse layouts․
Using Expansion Packs
Expansion packs offer exciting ways to enhance your Shatterpoint experience․ They introduce new characters, missions, and terrain, allowing for greater customization and strategic depth․ By incorporating these packs, players can diversify their gameplay, explore fresh scenarios, and expand their collection of miniatures and accessories․ Each pack is designed to seamlessly integrate with the core game, ensuring a cohesive and immersive experience․ Whether you’re adding iconic heroes or new battlefield elements, expansion packs empower you to create a unique and dynamic setup tailored to your preferences․
Incorporating Terrain Packs
Terrain packs are essential for creating immersive battlefields in Shatterpoint․ These sets include detailed, pre-designed pieces that represent various Star Wars environments, such as maintenance bays, starship wreckage, or desert landscapes․ When assembling, terrain packs can be integrated to enhance gameplay by providing cover, obstacles, and strategic vantage points․ Each piece is crafted to fit seamlessly with the game’s aesthetic, allowing players to build dynamic and visually stunning scenarios․ Proper placement of terrain ensures balanced gameplay and adds depth to your battles, making every match feel unique and engaging․ Terrain packs are a key element in elevating your Shatterpoint experience․

Final Touches
Final touches involve inspecting all components for proper alignment and stability․ Ensure all parts are securely attached and functional․ Conduct a final quality check to confirm everything is assembled correctly․
Tightening and Adjustments
Tightening and adjustments are critical to ensure stability and proper functionality․ Use the provided Allen wrenches to secure bolts and screws firmly, but avoid over-tightening․ Focus on joints, panels, and moving parts, ensuring they align correctly․ Check for any loose components and tighten as needed․ Pay attention to areas prone to misalignment, such as hinges or connectors․ Double-check all adjustments to prevent wobbling or instability․ Refer to the manual for specific torque requirements․ This step ensures your Shatterpoint setup is durable and ready for play․ Proper adjustments enhance both aesthetics and performance․
Quality Control Checks
Quality control checks ensure your Shatterpoint assembly meets high standards․ Inspect all components for damage or defects before assembly․ Verify that all parts are included and correctly identified․ After assembly, check for proper alignment, stability, and functionality․ Ensure all panels and accessories are securely attached․ Use the provided tools to tighten any loose connections․ Refer to the manual for guidance on specific checks․ Conduct a final visual inspection to ensure everything is in pristine condition․ This step guarantees durability and optimal performance for your Shatterpoint setup, enhancing your gaming experience with precision and reliability;
Troubleshooting Common Issues
Identify misalignment by checking part fits and ensuring proper glue application․ Use files to adjust warped components and apply clamps or rubber bands to hold parts securely while drying․
Identifying Assembly Errors
Identifying assembly errors early ensures a stable and visually appealing final product․ Common mistakes include misaligned parts, excessive glue application, and incorrect component placement․ Carefully inspect each joint and verify alignment before securing with adhesive․ Use a hobby knife to trim excess plastic or glue․ If a part is warped, gently heat it with a hairdryer to reshape․ Always refer to the instructions or online guides for clarification․ Addressing errors promptly prevents structural issues and enhances the overall durability of your Shatterpoint assembly․
Resolving Misalignment Problems
Misalignment issues can hinder the structural integrity and aesthetics of your Shatterpoint assembly․ To resolve this, carefully disassemble the affected area without damaging the components․ Use a small clamp or rubber band to hold parts in place while reattaching․ Applying minimal glue ensures precise alignment․ If a part is bent, gently heat it with a hairdryer to reshape․ For severe misalignments, consider starting over with that section․ Patience and attention to detail are key to achieving a seamless and professional finish in your Shatterpoint models․
With careful assembly and attention to detail, your Shatterpoint setup is now complete․ Perform a final inspection, ensuring all parts are secure and properly aligned․ Your model is ready for gameplay!
Final Inspection and Testing
Once assembled, conduct a thorough inspection to ensure all parts are securely attached and properly aligned․ Verify that moving components function smoothly and adjustments hold․ Check for any cosmetic imperfections or paint touch-ups needed․ Test the model’s stability and balance, ensuring it stands firmly on its base․ For added reliability, review all connections and tighten any loose joints․ Finally, ensure all accessories and terrain pieces are correctly positioned․ Your Shatterpoint assembly is now complete and ready for gameplay!